How to Wallpaper a Light Switch Plate

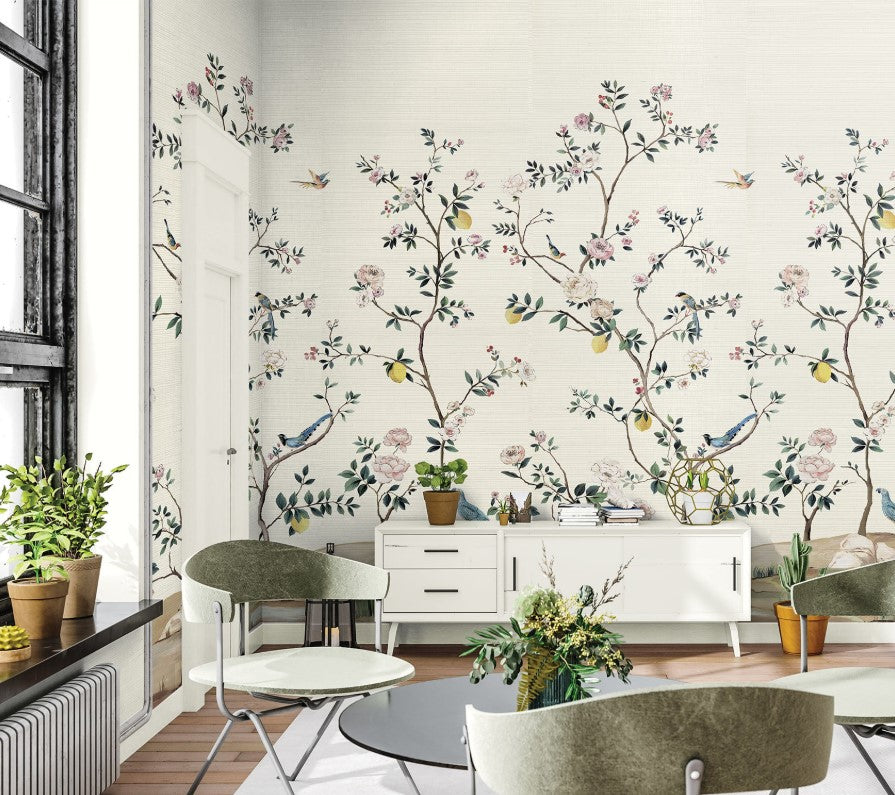
A beautifully wallpapered wall can lose its impact when a plain light switch interrupts the pattern. One of the easiest ways to elevate a wallpapered space is to cover the light switch plate with wallpaper so it blends seamlessly into the wall.
This simple designer trick creates a polished, custom look - and it’s easier than you think.
What You’ll Need
- Screwdriver
- Extra wallpaper
- Heavy-duty spray adhesive (such as 3M Super 77)
- Scissors
- X-Acto knife
Step 1. Remove the switch plate
Unscrew the light switch plate from the wall and place it on a flat, clean work surface.

Step 2. Align the wallpaper pattern
Select an extra piece of wallpaper that matches the pattern repeat on the wall.
Cut a section that extends at least one inch larger than the switch plate on all sides.
Carefully align the wallpaper over the switch area on the wall to ensure the pattern matches perfectly.

Step 3. Apply adhesive
Lightly spray the adhesive onto:
-
The front of the switch plate
-
The back of the wallpaper cutout
Hold the switch plate up to the wall in its original position. Once the pattern is aligned, press the wallpaper onto the plate, ensuring it adheres smoothly and stays perfectly matched to the wall design. Remove the switch plate and attached wallpaper and rub it together so its attached firmly.

Step 4. Trim and wrap
Remove the plate from the wall and trim around the outer edges, leaving approximately ¼ inch excess.
Cut small angled snips at the corners.
Step 5. Cut the center opening
Place the switch cover facing down, with the patterned side facing the work surface. Using an X-Acto knife,carefully cut out the openings for the switches. Then cut a small "X" where the screws will go.
This ensures a clean installation and allows the screws to align properly when reinstalling the plate.
Step 6. Apply adhesive and wrap edges
Lightly spray the adhesive around the edges and neatly fold and press the wallpaper edges over the back of the switch plate.
Step 7. Reinstall
Once the adhesive is dry, screw the plate back into the wall.
Make any final pattern adjustments so the wallpapered light switch plate blends seamlessly into the surrounding wall.

✨ Your designer-detail light switch is complete!

Why Designers Love This Detail
Wallpapering a light switch plate removes visual interruptions and makes patterned walls feel intentional and custom. It’s a small detail that delivers a high-end result - especially on accent walls and murals.